






SCCM Create Custom Windows PE Boot Image Using MDT with ConfigMgr
In this post, you will learn about the process to create custom Windows PE Boot Image Using MDT with Configuration Manager Console.
When you install configuration manager, provide two default boot images: one for x86 platforms and one for x64 platforms.
If you want to create a custom boot image with the configuration manager console,, you must configure ConfigMgr Integration and complete the MDT integration process wizard.
The integration process happens at the console level. Installing MDT does not change the ConfigMgr server. For more detailed information, check Integrated MDT with ConfigMgr.

- Easily Fix Matching Processor Architecture Boot Image Not Found
- Learn How To Sysprep Capture Windows 10 Image Using DISM
- How to Solve Sysprep Error 0x80073cf2
- Free Generic Windows 10 Product Keys from Microsoft
- Deploy Windows Captured Image Using SCCM And MDT
- Windows 10 With Cortana For India More New Features
Introduction
A boot image in Configuration Manager is a Windows PE (WinPE) image that’s used during an OS deployment. Boot images are used to start a computer in WinPE. This minimal OS contains limited components and services. Configuration Manager uses WinPE to prepare the destination computer for Windows installation.
Create Boot Image
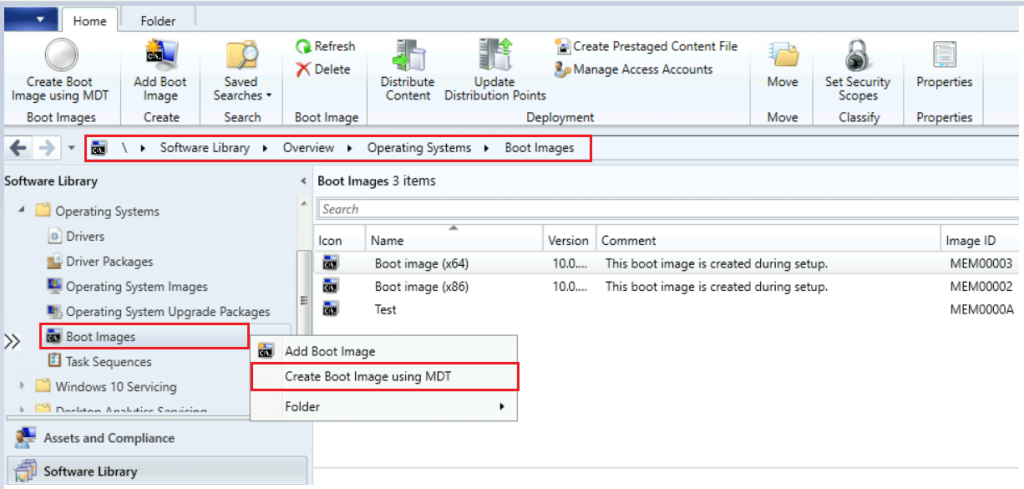
Using the Configuration Manager Console, in the Software Library workspace, expand Operating Systems, right-click Boot Images, and select Create Boot Image using MDT.
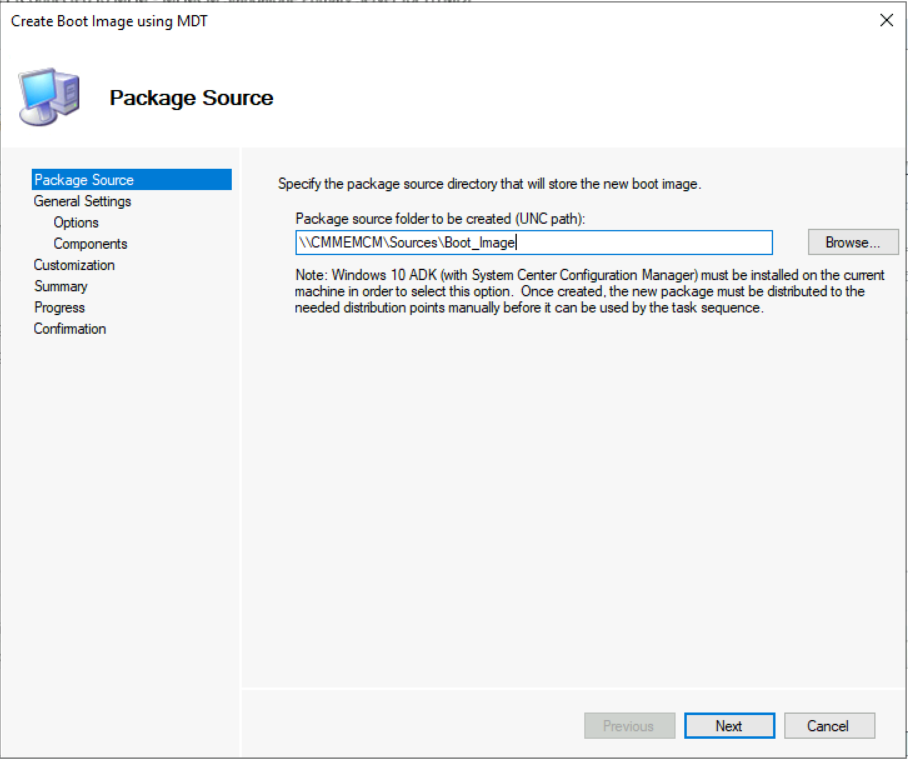
On the Package Source page, specify the path of an empty directory. The specified path must be a valid network path in the UNC format and click Next.
Configuration Manager provides two default boot images: One to support x86 platforms and one to support x64 platforms. These images are stored in the x64 or i386 folders in the following share on the site server: \\<SiteServerName>\SMS_<sitecode>\osd\boot\ If you don’t want your customized boot images automatically updated, don’t store them in the default location.
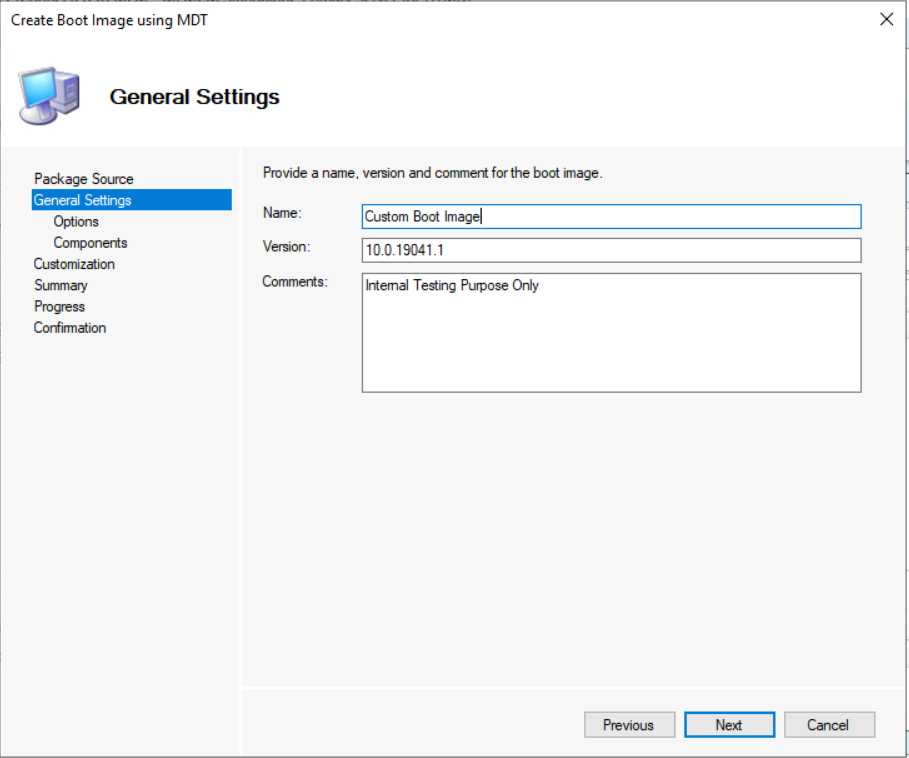
On the General Settings page, specify the following options, and then click Next.
- In the Name box, specify a unique name for the boot image.
- In the Version box, specify a version number for the boot image.
- In the Comment box, specify a brief description of how the boot image is used.
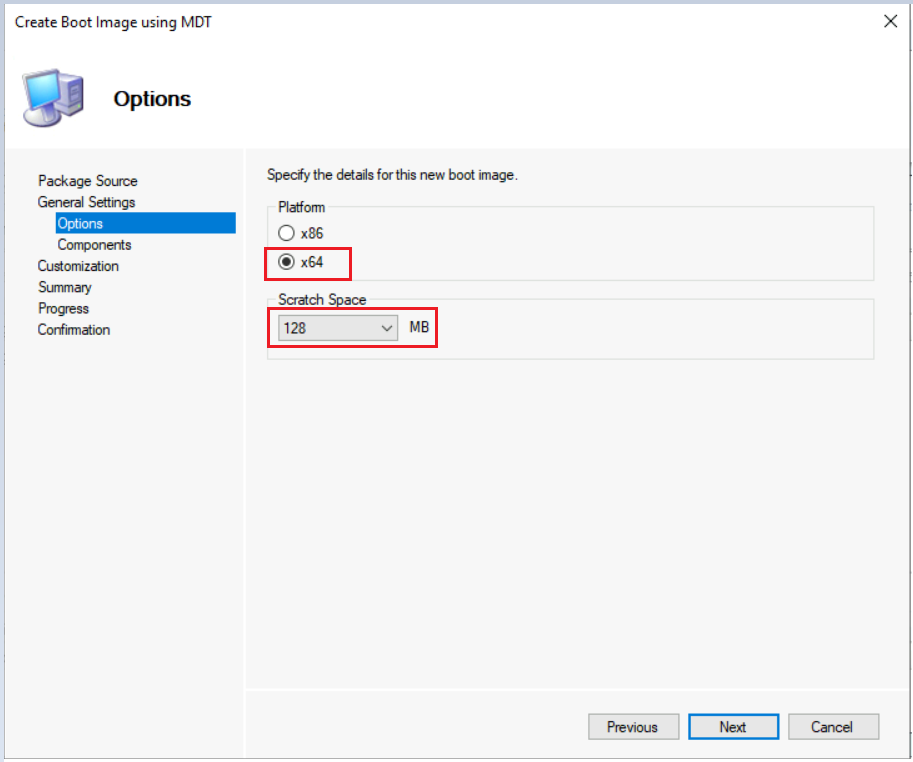
On the Options page, select the platform, scratch space, and click Next.
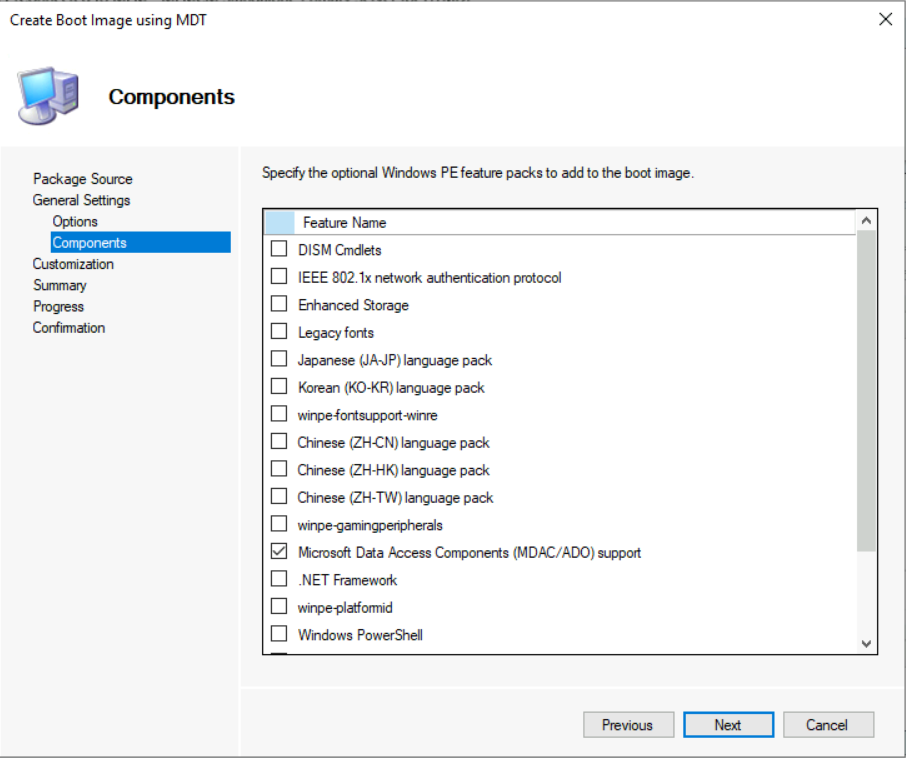
On the Components page, in addition to the default selected Microsoft Data Access Components (MDAC/ADO) support, select the feature check box if any, and click Next.
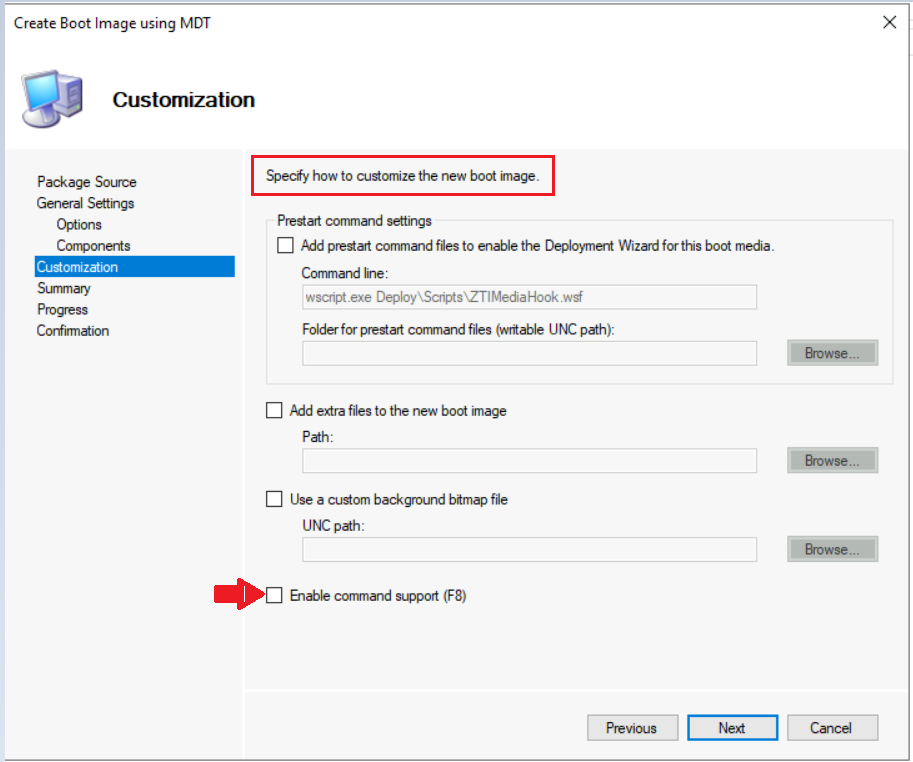
On the Customization page, you can specify the needed customizations. We’ll only uncheck Enable command support (F8) that is not recommended for production use. All settings you can also edit once the process is completed. Click Next.
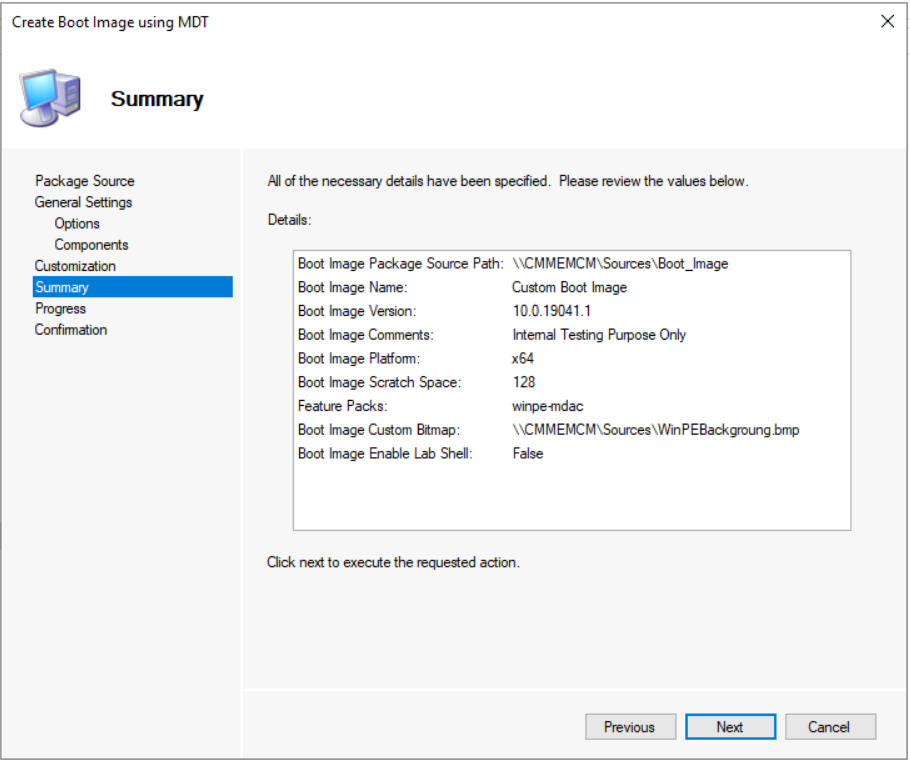
On the Summary page, review the specified details and click Next.
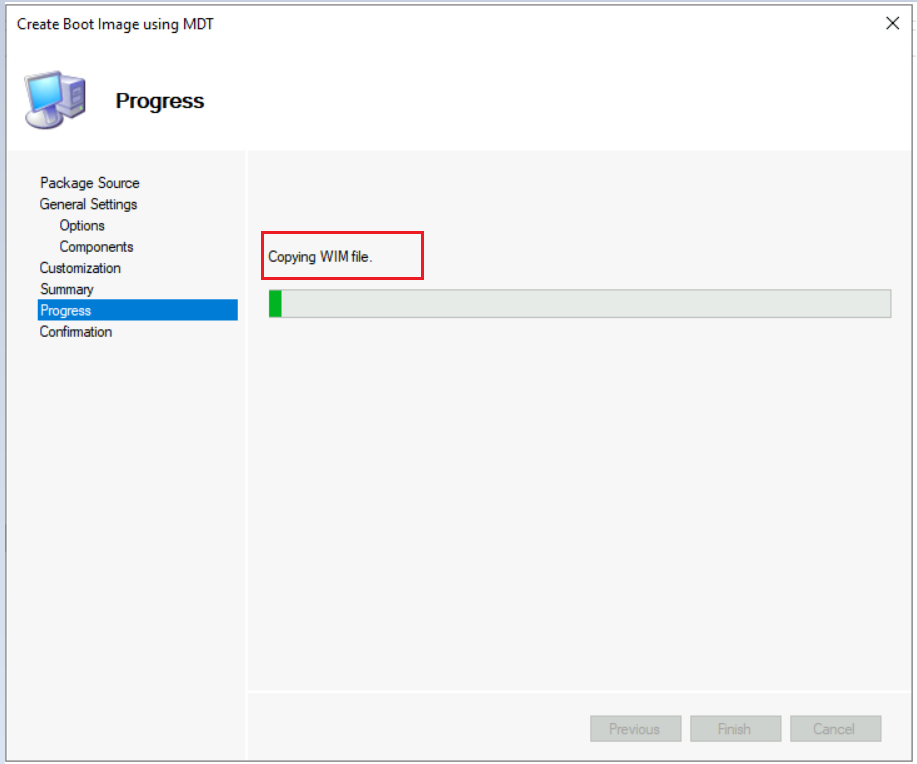
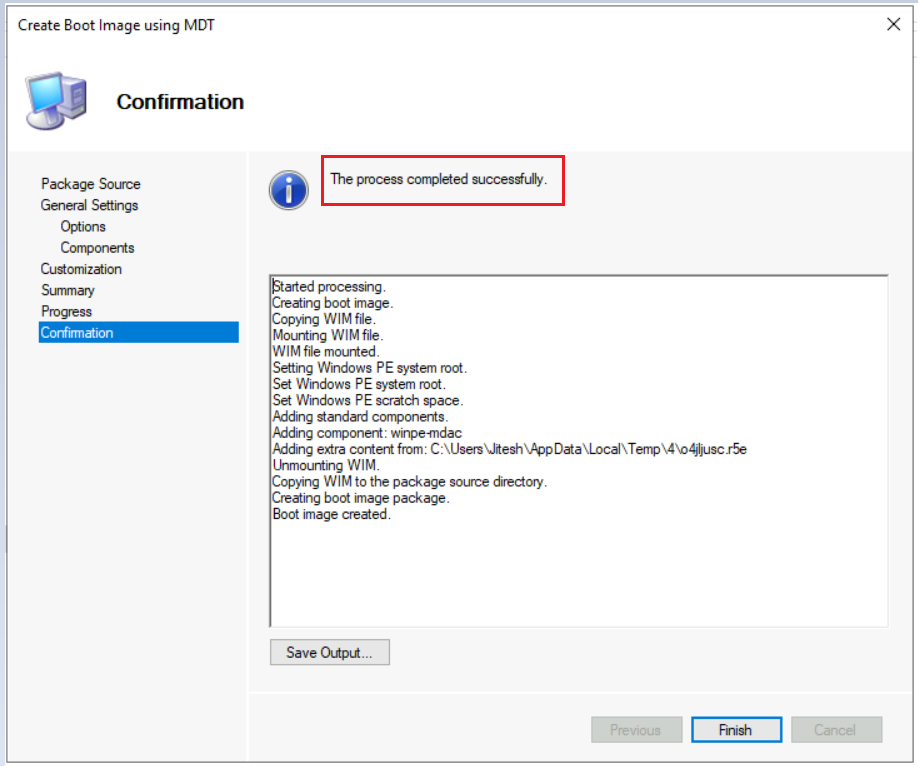
Wait a few minutes while the boot image is generated.
Once the process is completed successfully. Click Finish.
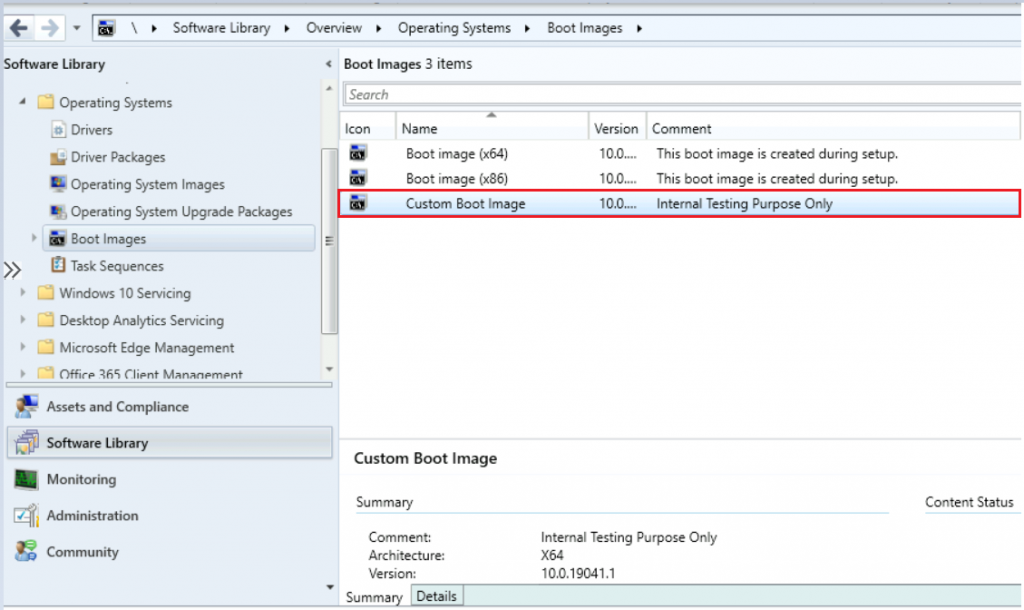
The boot image is now listed in the Boot Image node.
Modify a Boot Image
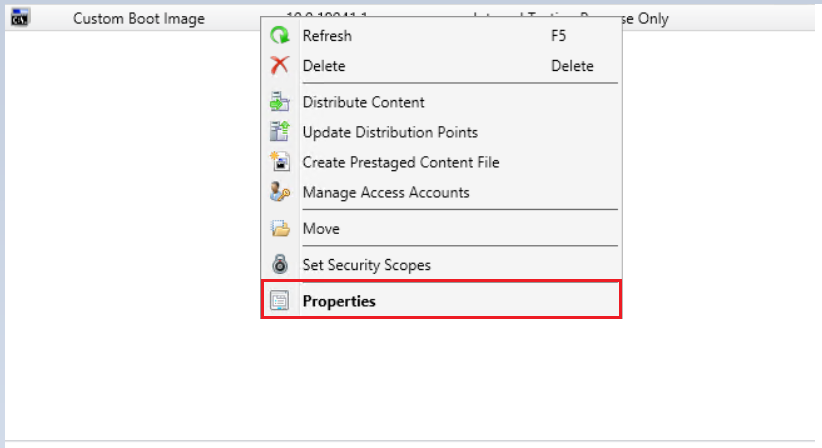
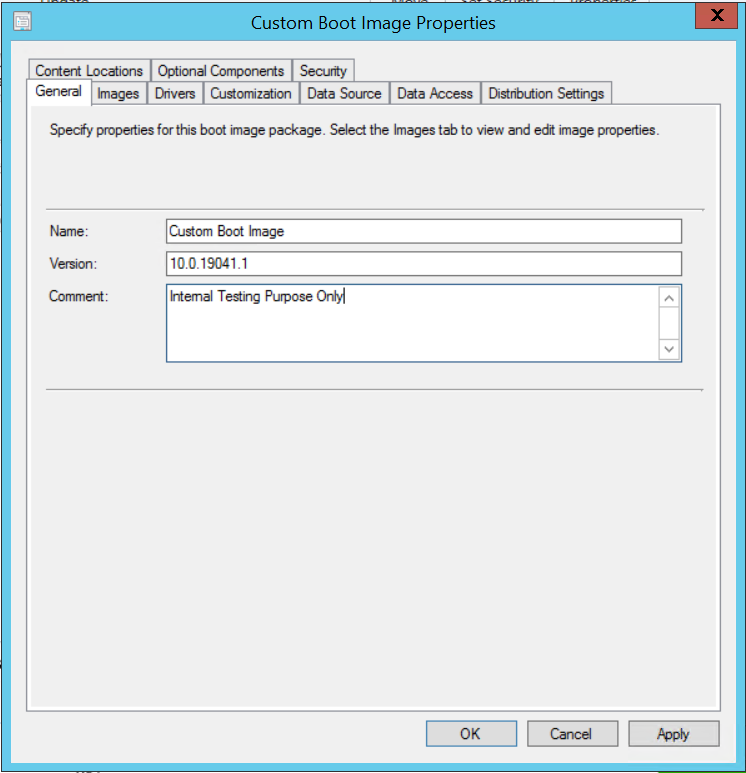
In the Software Library workspace, expand Operating Systems, and then click Boot Images. Select the boot image that you want to modify. Click Properties to open the Properties dialog box for the boot image.
Note – When a boot image is based on the WinPE version from the supported version of the Windows ADK, you can customize or modify a boot image from the console.
Set any of the following settings to change the behavior of the boot image.
Images
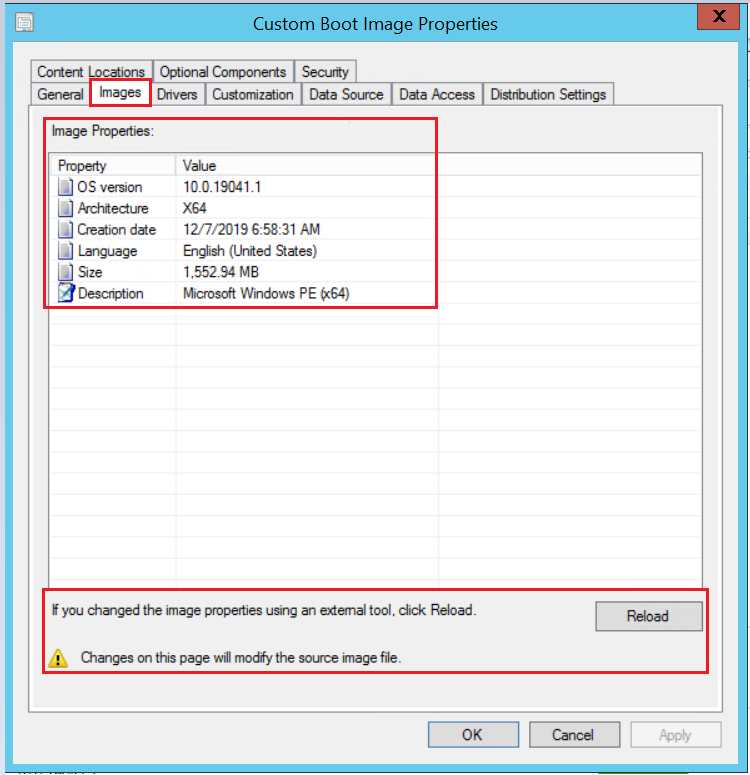
On the Images tab, you can see Image Properties. if you have changed the properties of the boot image by using an external tool, click Reload.
Drivers
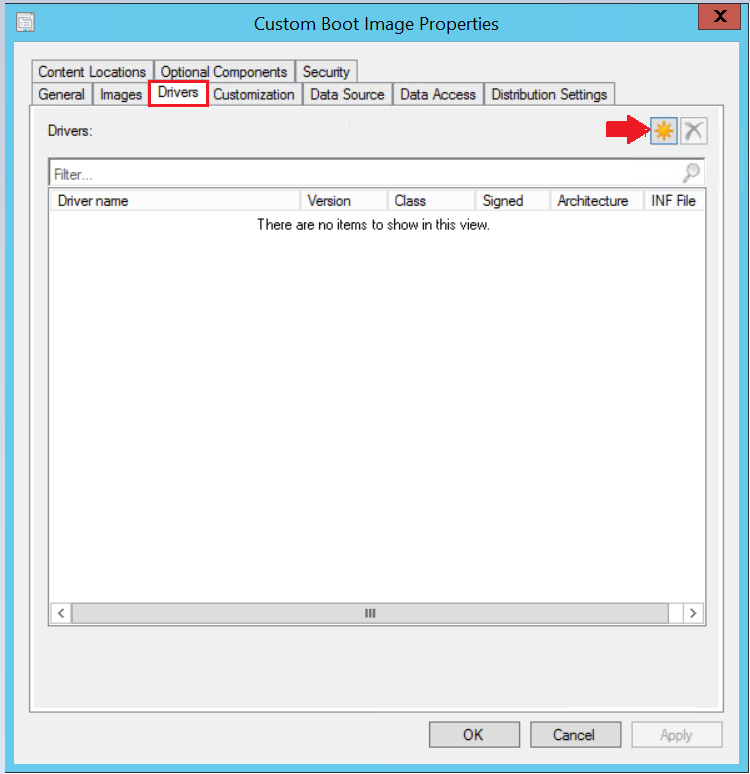
On the Drivers tab, add the Windows device drivers that are required to boot Windows PE. You can also view existing drivers already associated with a boot image. Consider the following points when you add device drivers:
- You must import device drivers into the drivers catalog before you add them to a boot image. For information about How to Import Windows Device Drivers into the Driver Catalog.
- As a best practice, add only NIC and Mass Storage Drivers to the boot image unless there are requirements for other drivers to be part of Windows PE. As WinPE already comes with many drivers built-in.
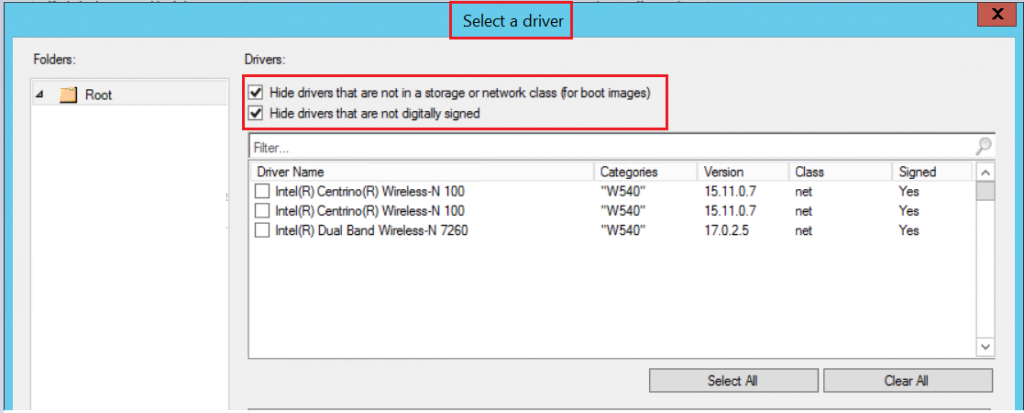
- To only display storage and network drivers, select Hide drivers that are not in storage or network class (for boot images). This option also hides other drivers that aren’t typically needed for boot images.
- To hide drivers that don’t have a valid digital signature, select Hide drivers that are not digitally signed.
- To add multiple drivers to a boot image, select all the drivers you want to add, and then select Add or Remove Drivers to Boot Images from the context menu.
Customization
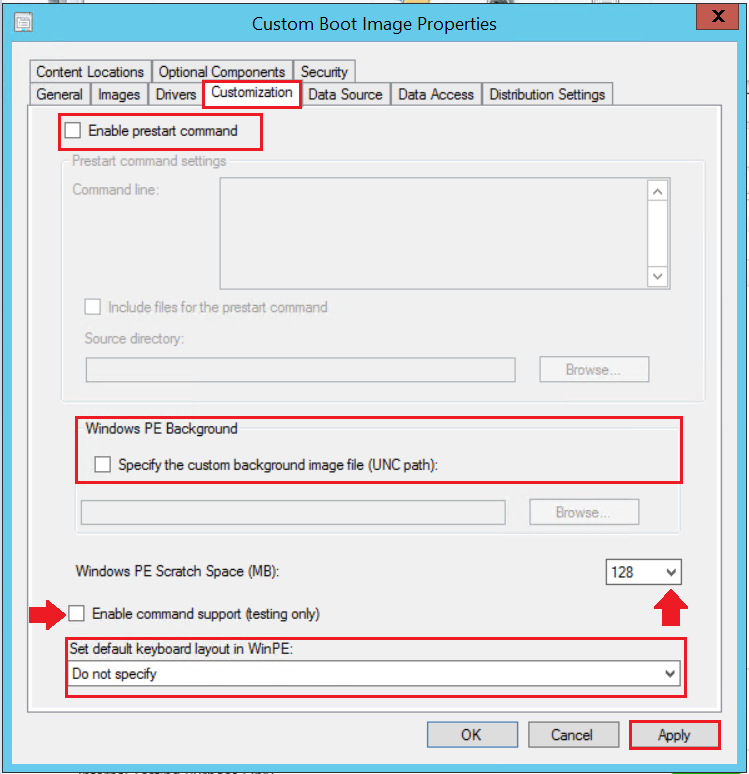
Select the Enable Prestart Commands option to specify a command to run before the task sequence runs. When you enable this option, also specify the command line to run and any support files required by the command.
Add cmd /c to the start of the command line. If you don’t specify cmd /c, the command won’t close after it runs. The deployment continues to wait for the command to finish and won’t start any other configured commands or action.
- Set the Windows PE Background settings to specify in case you want to use a custom background image. Select Specify the custom background image file (UNC path), and click Browse the folder that contains the background file. Once you are done with this you will get the new background image in order to OSD Deployment for the selected boot image file under task sequence.
- Configure the Windows PE scratch space (MB), which is temporary storage (RAM drive) used by WinPE.
- Select Enable command support (testing only) to open a command prompt by using the F8 key while the boot image is deployed. This option is useful for troubleshooting while you’re testing your deployment. Using this setting in a production deployment isn’t advised because of security concerns.
- Set default keyboard layout in WinPE: Starting in version 1910, configure the default keyboard layout for a boot image. If you select a language other than en-us, Configuration Manager still includes en-us in the available input locales. On the device, the initial keyboard layout is the selected locale, but the user can switch the device to en-us if needed.
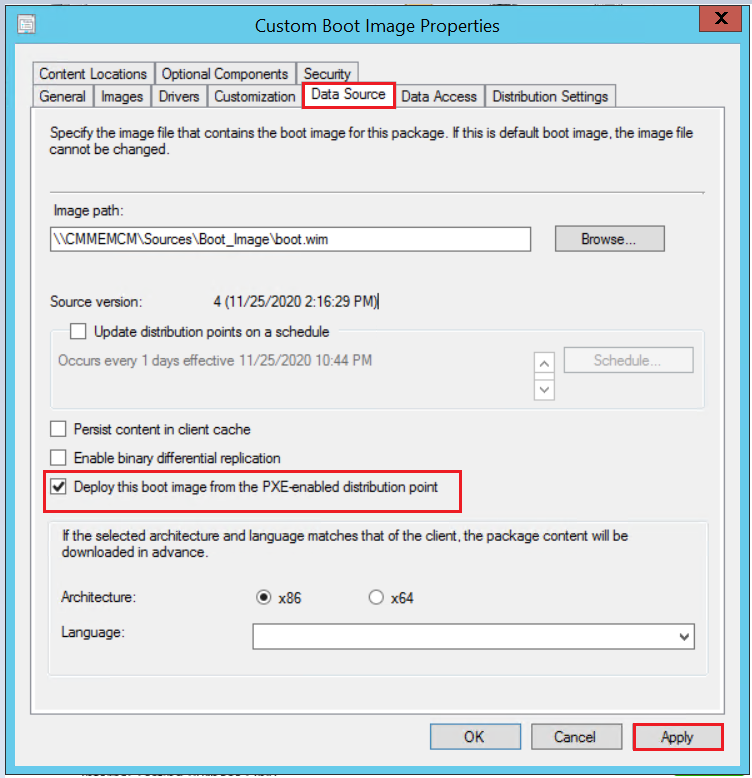
Data Source
To specify that the site only distributes changed files when it updates the boot image package on the distribution point, select Enable binary differential replication (BDR). This setting minimizes the network traffic between sites. BDR is especially useful when the boot image package is large and the changes are relatively small.
Configure a boot image for PXE
Before you can use a boot image for a PXE-based deployment, configure the boot image to deploy from a PXE-enabled distribution point. If you use the boot image in a PXE-enabled deployment, select Deploy this boot image from the PXE-enabled distribution point.
Optional Components
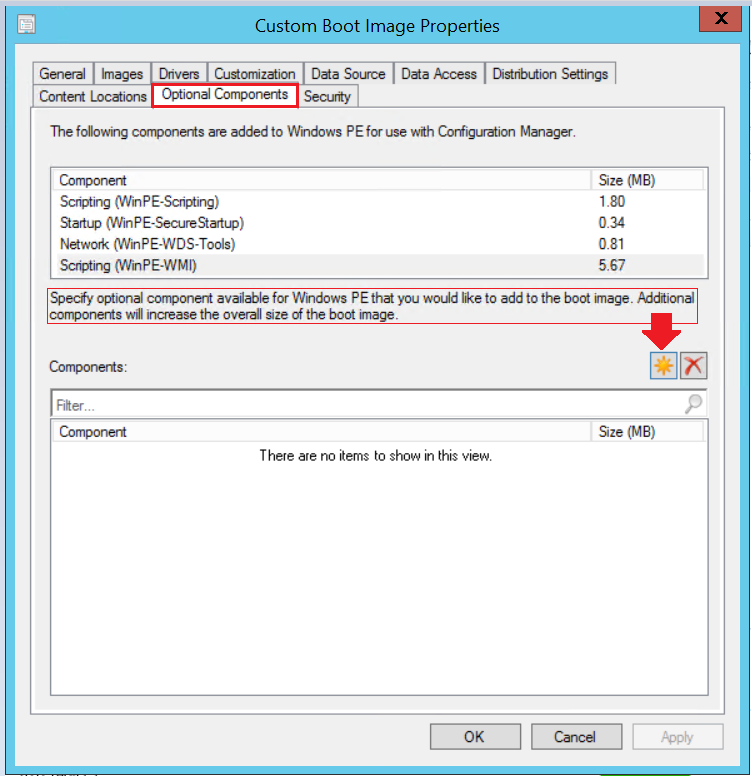
On the Optional Components tab, specify the components that are added to Windows PE for use with Configuration Manager. The Components list shows additional items that are added to this boot image. To add more components, select the gold asterisk.
Distribute boot images
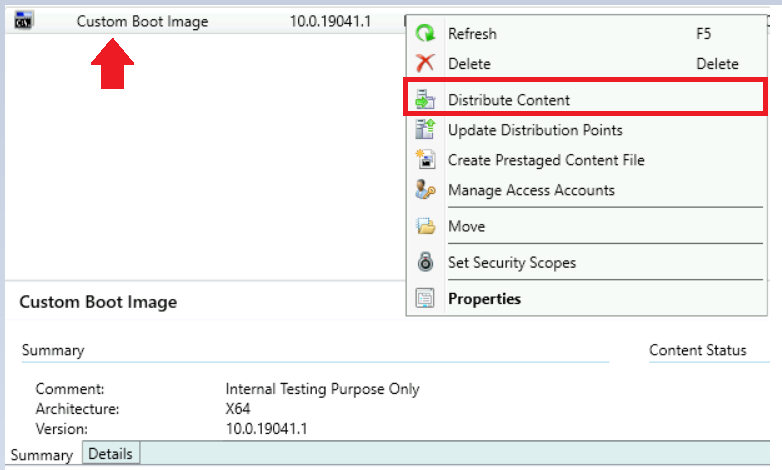
Before using the boot image to deploy an OS, distribute the boot image to distribution points. Right-click Boot Image and click Distribute Content.
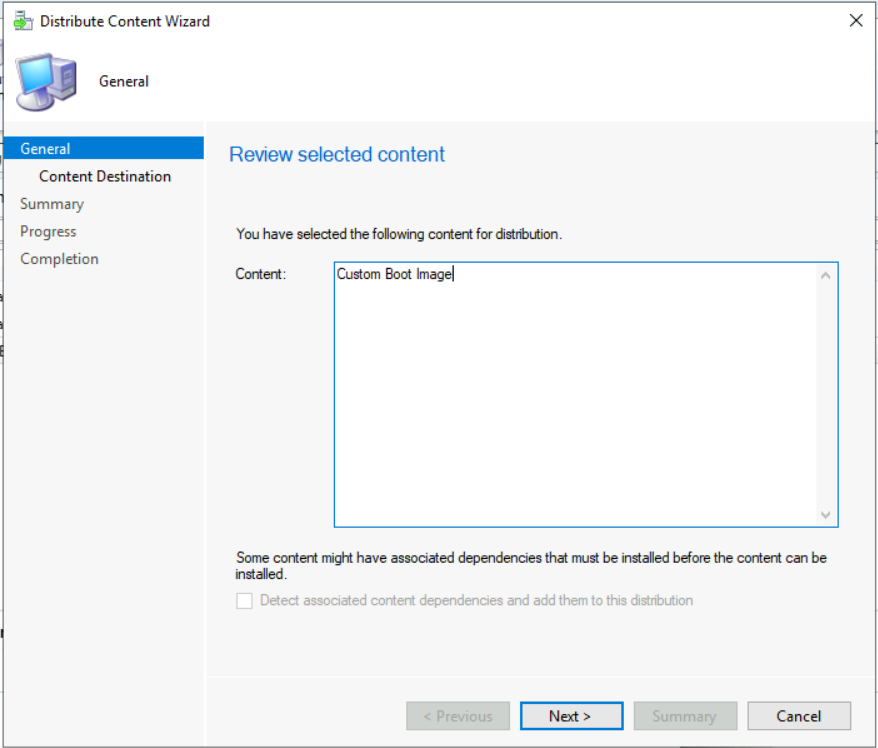
Review the selected content for distribution. Click Next.
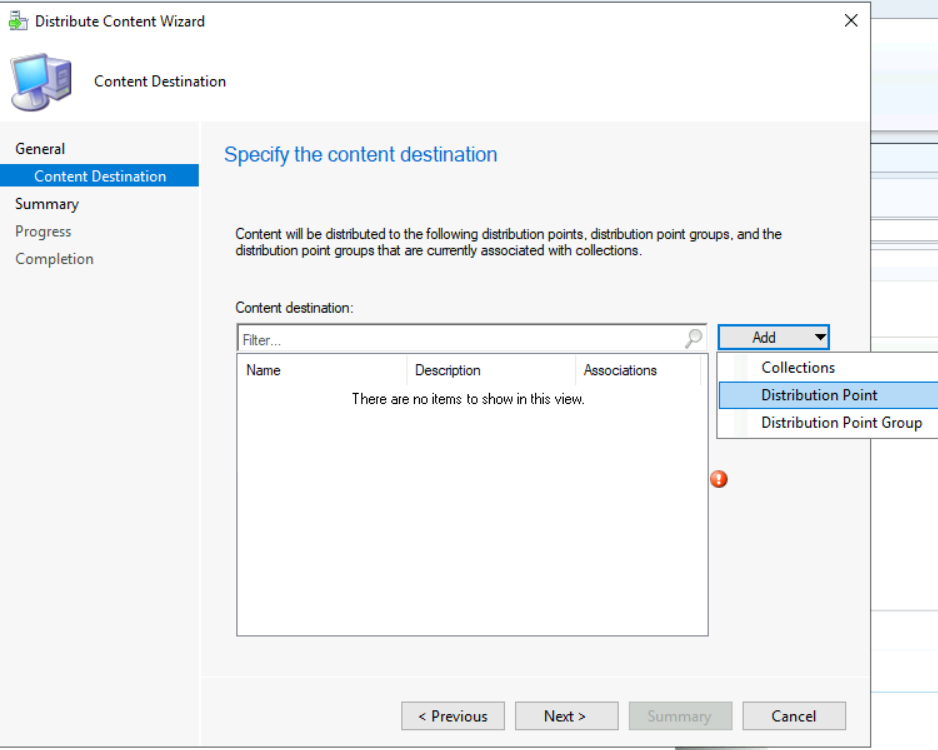
Add the Distribution Point to distribute the content. Review the selected distribution points, and groups. Click Next.
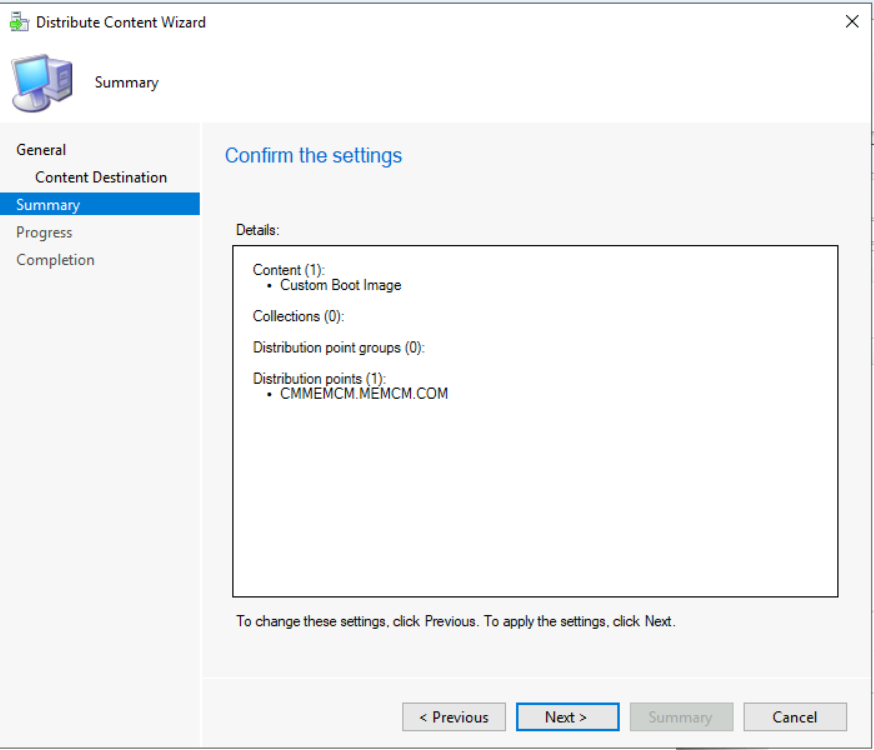
On the Summary page, review the settings. Click Next.
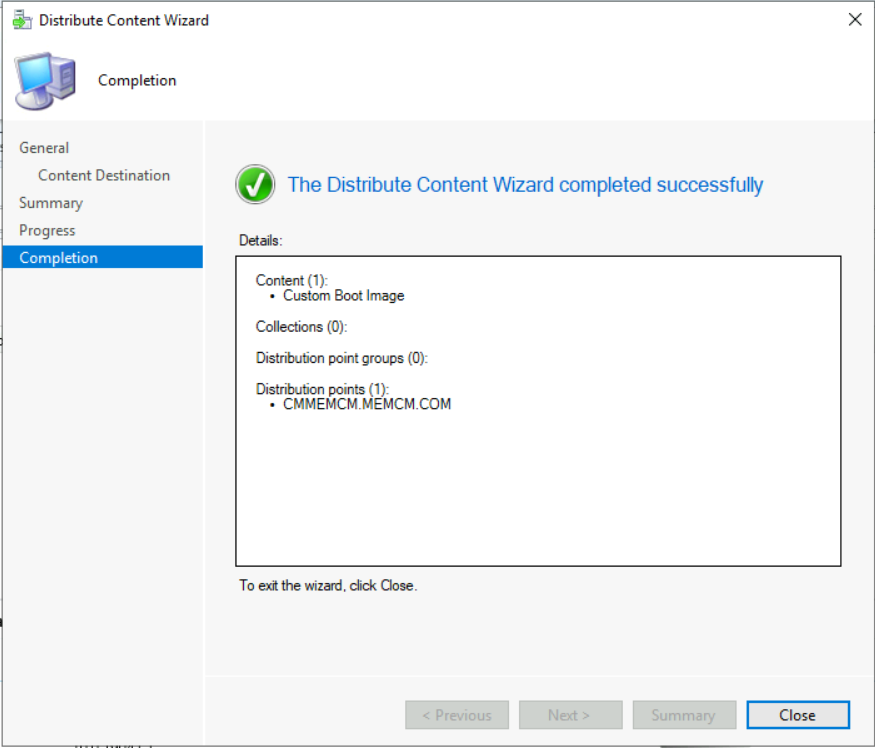
Click Close to complete the Distribute Content wizard.
You can monitor the content status, if it’s showing the yellow color that means distribution is in progress. If the content distribution was successful, it will appear with Green color as shown.
Modify Existing Custom Boot Image
Important – When you upgrade a site and install a new version of the Windows ADK, custom boot images aren’t updated with the new version of Windows ADK. When that happens, you can’t customize the boot images in the Configuration Manager console. However, they continue to work as they did before the upgrade.
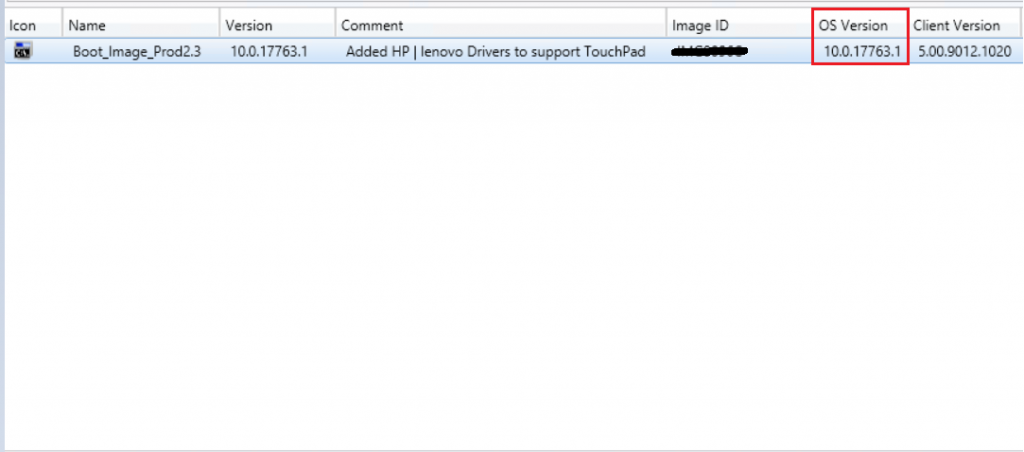
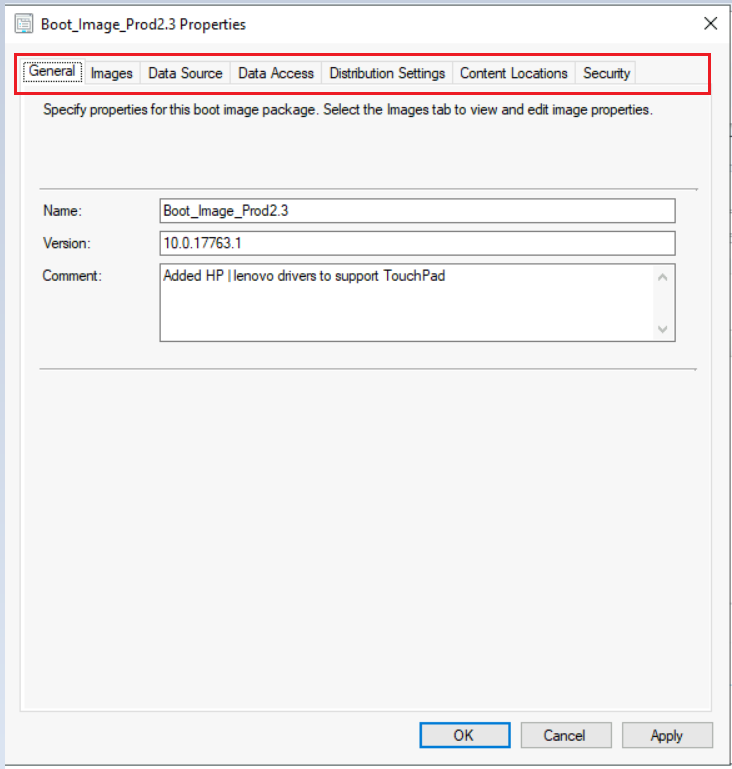
Missing Tabs On Boot Image
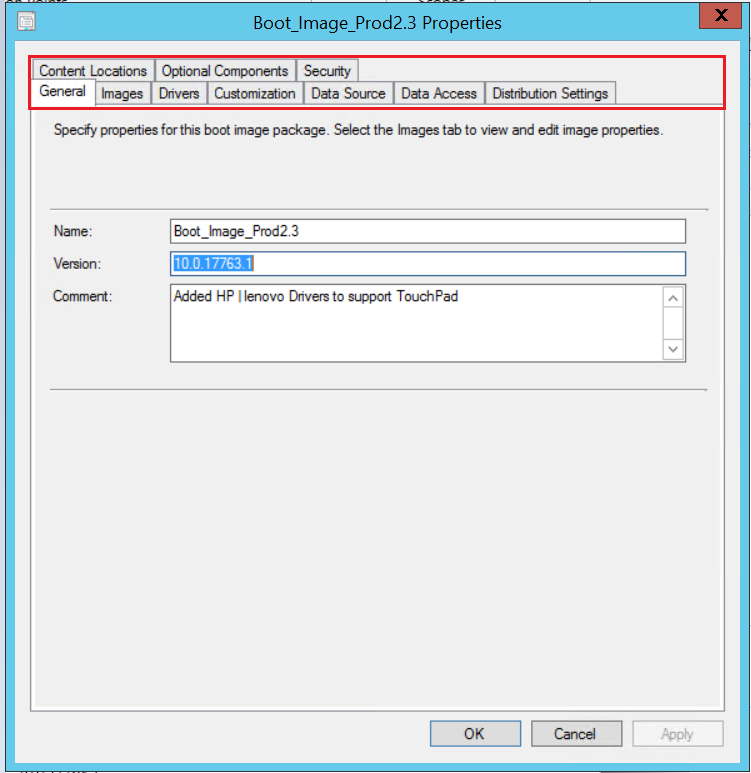
The selected boot image is out of date based on the WinPE version from the supported version of the Windows ADK, as a result missing a few tabs on the properties, such as adding Drivers and Customization. Let’s proceed to upgrade.
Update distribution points with the boot image
When you use the Update Distribution Points action from the Boot Images node in the console, the site updates the target boot image with the client components, drivers, and customizations. You can reload the boot image with the latest version of WinPE from the Windows ADK installation directory.
Select the Boot images, right-click and select Update Distribution Points.
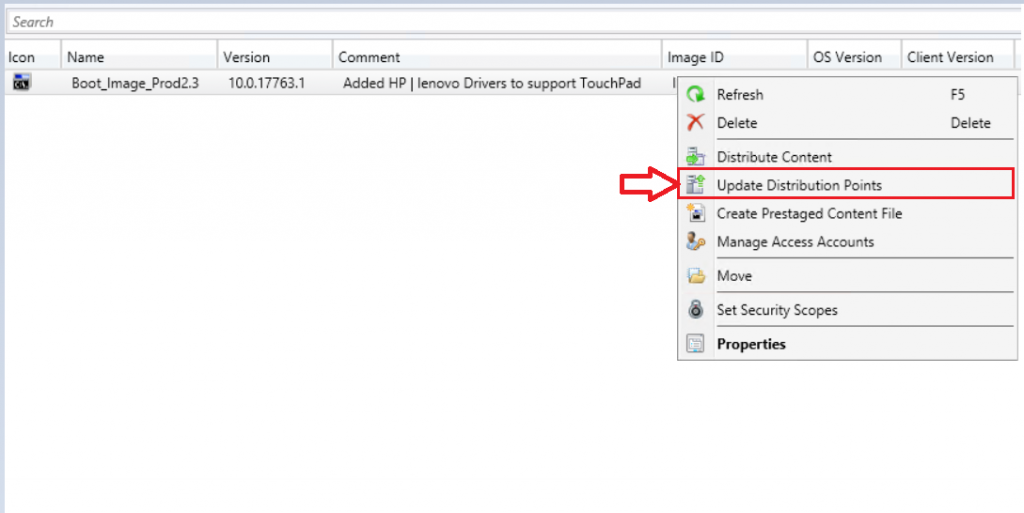
Important – During this process to reload the boot image, the site doesn’t retain any manual customizations made outside of Configuration Manager. This option rebuilds the boot image using the latest version of WinPE and the latest client version. Only the configurations that you specify on the properties of the boot image are reapplied.
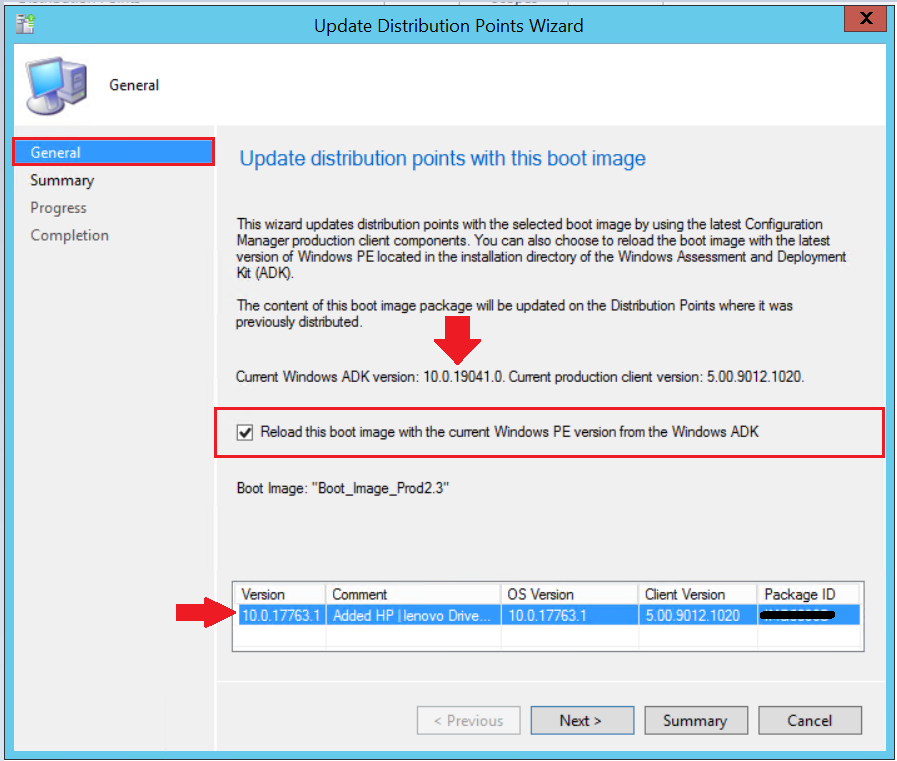
The General page of the Update Distribution Points wizard provides the following information, select “Reload this boot image with the current Windows PE version from the Windows ADK”. Click Next.
- The current Windows ADK version installed on the site server
- The current production client version
- The Windows ADK version of WinPE in the boot image
- The version of the Configuration Manager client in the boot image
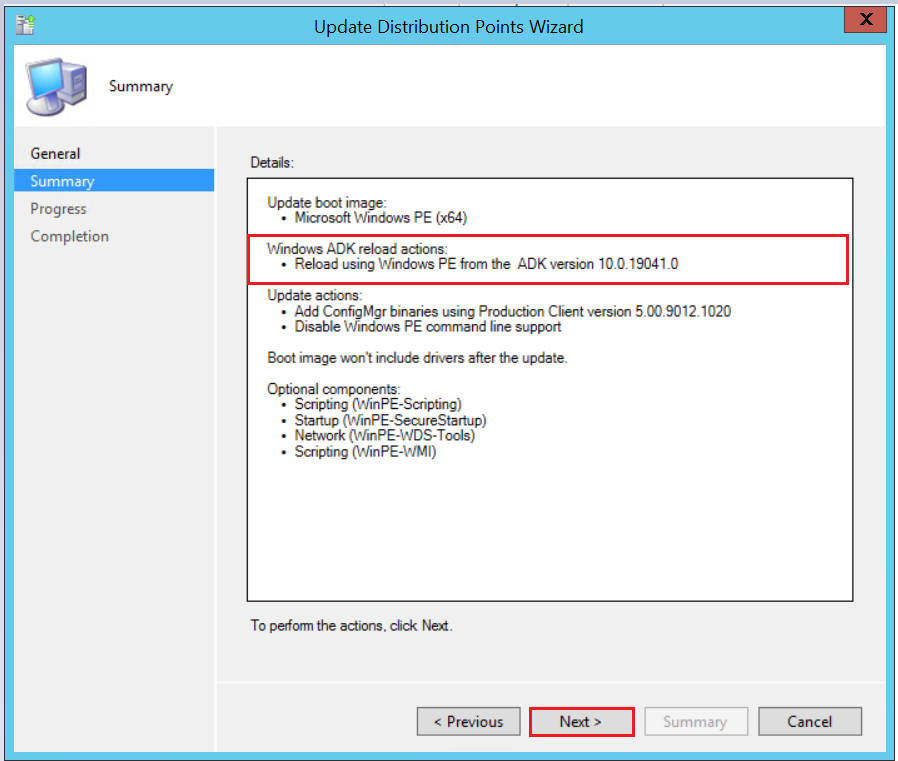
On the Summary page, click Next.
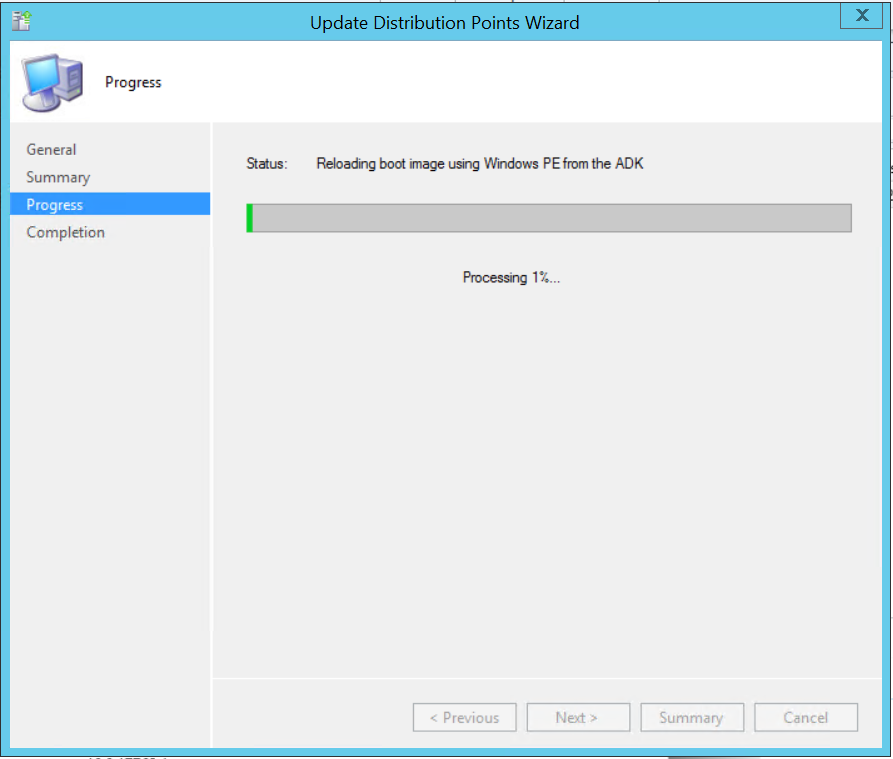
Wait a few minutes while the boot image update is in progress.
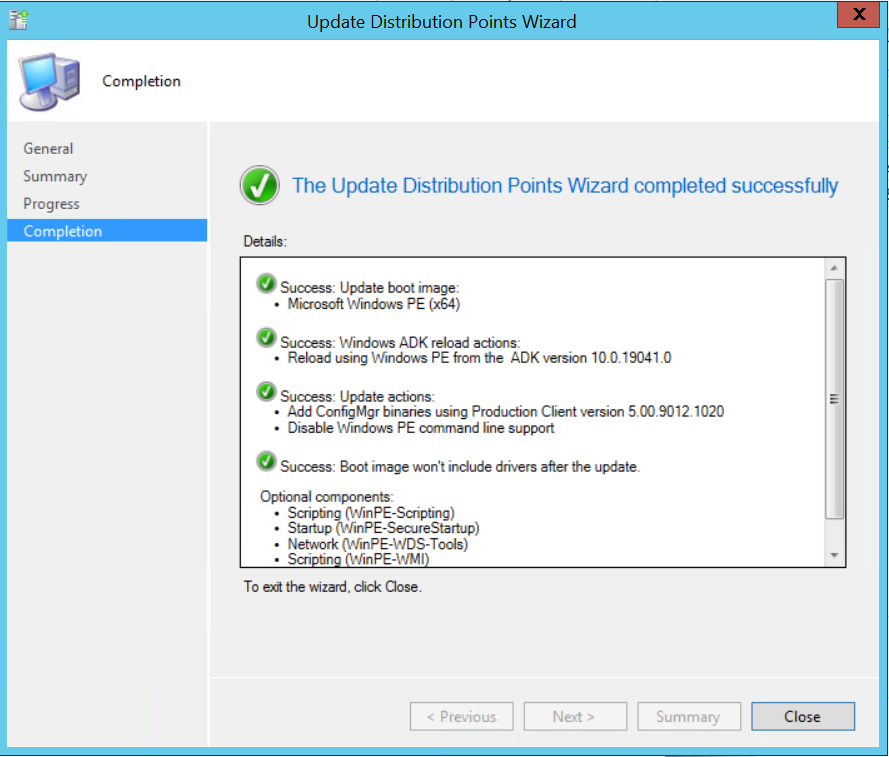
Boot Image update process completed successfully. Click Close to exit the wizard.
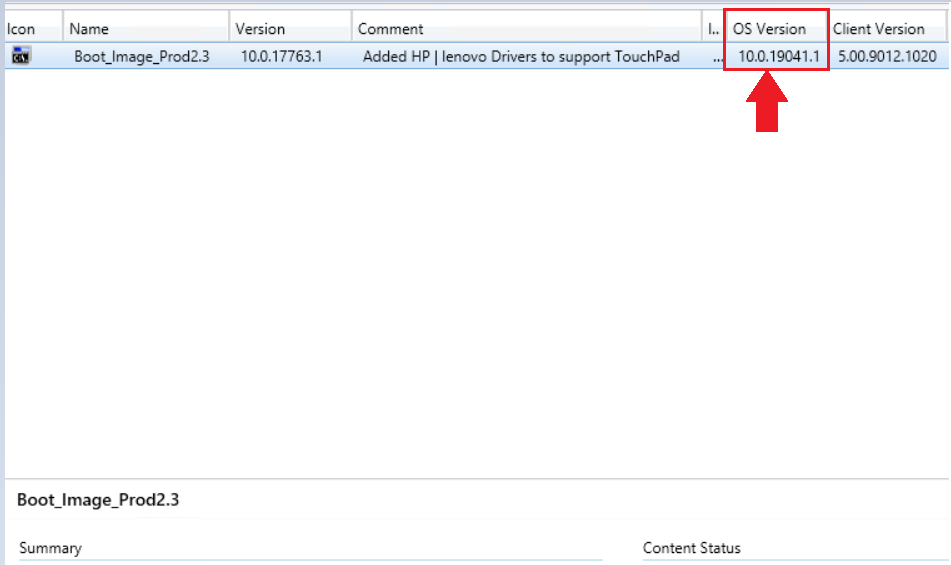
The OS Version is updated for the selected custom boot image with the new version of Windows ADK.
Now you can customize the boot images in the Configuration Manager console using the properties tab.
Resources
Step-by-Step Guide to Update Windows ADK and WinPE Versions
We are on WhatsApp. To get the latest step-by-step guides and news updates, Join our Channel. Click here –HTMD WhatsApp.
Author
Jitesh Kumar has over five years of experience in the IT Industry. He writes and shares his experiences related to Microsoft device management technologies and IT Infrastructure management. His primary focus area is the Windows 10 Deployment solution with Configuration Manager, Microsoft Deployment Toolkit (MDT), and Microsoft Intune.
Creating “custom” boot images with the MDT wizard in ConfigMgr is really no longer necessary. All the functionality that you get from the MDT wizard exists natively in ConfigMgr. There is no reason to use the MDT wizard any more. If you want to create a new “fresh” boot image, just use the reload option when updating DPs for a boot image. All other customizations can be done from the various tabs in the properties of the boot image.